
I really like working from home and having the ability to be in my own space, while also avoiding the necessity to commute on public transport. With that said, it can often be hard to communicate to family members, partners, or just the people that you’re living with that you’re inescapably busy at a given point in time, such as when you’re on a meeting. That’s why I built an “On Air” display using an ESP32-powered display.
The display I used here is the WT32-SC01 Plus, but any old cheap one will do, including the Cheap Yellow Display. So long as you can connect it to your home network, deploy ESPHome, and connect it to Home Assistant, you can also build the same thing that I have here. On the software side, all you need is the Google Calendar integration, or any way to show a calendar in Home Assistant that contains your meetings.
Setting up Home Assistant
Preparing our template sensors

Depending on the calendar service you use, you’ll either connect it directly to Home Assistant or bring it in through an ICS link. Google Calendar works great for this, as it exposes each calendar as its own entity and gives you the start and end times, the title, and whether an event is actually in progress. All of my work-related meetings are in my work email’s calendar, so there’s no need to filter out birthdays, bill reminders, or anything else.
Once you’ve added your calendar, you’ll see individual entities for the separate calendars attached to that email. Clicking a calendar will surface the following information:
- Message (title)
- All day
- Start time
- End time
- Location
- Description
The calendar itself also acts as a binary sensor, and will switch to “on” when an event is in progress. From there, I created a few template sensors to help with tracking specific information it contains. These sensors are:
- Title
- Start time
- End time
- In call now
- Next call is today

Both the “title” and “in call now” helpers aren’t strictly necessary, but they help keep everything organized and in the one place. The start time and the end time, though, are required, as Home Assistant reports the time and date of a call in this format: “September 12, 2025 at 5:30:00 PM”
Thankfully, it’s quite easy to pull the time data from this string. Home Assistant’s as_datetime function uses Python’s date parser under the hood, which can intelligently handle this string to pull the time from it. I’ve accounted for instances where a timezone is provided and a timezone isn’t provided, and with the Google Calendar integration, one isn’t provided. For example, to get the start time looks like this:
 - name: "Cal Display Start HHMM"
state: >
{% set s = state_attr('calendar.adam_xda_developers_com','start_time') %}
{% if s %}
{% set dt = as_datetime(s) %}
{% if dt.tzinfo is not none %}
{{ as_timestamp(dt) | timestamp_custom('%H:%M', true) }}
{% else %}
{{ dt.strftime('%H:%M') }}
{% endif %}
{% else %}-{% endif %}
The final “else” statement simply fills in a dash if it can’t read the start_time for whatever reason.
We run the same template for the end time (obviously targeting “end_time” instead), and a similar method to also detect whether the date in the timestamp is today. Otherwise, the next call time would pull from the next call in general, which could be several days away.
Setting up ESPHome
The easy part

With the calendar pieces in place, the display becomes the easy part. Flash the device with ESPHome, then modify the YAML to add your sensors and draw the results to the display. I’ve kept each sensor clearly named so the mapping is obvious at a glance: one sensor for whether a meeting is live, one for the meeting title, one for the start and end times, and one that answers the only question people actually care about when I’m not on a call… whether there’s another one today.
For testing purposes, you may need to reload the Google Calendar integration (assuming you’re using it) so that Home Assistant can pull the new entries in your calendar. Otherwise, it may take a few minutes for them to pop-up. However, when Home Assistant does update those values, the screen redraws itself. All the heavy lifting is done on the server side, and all the display has to do is show the results.
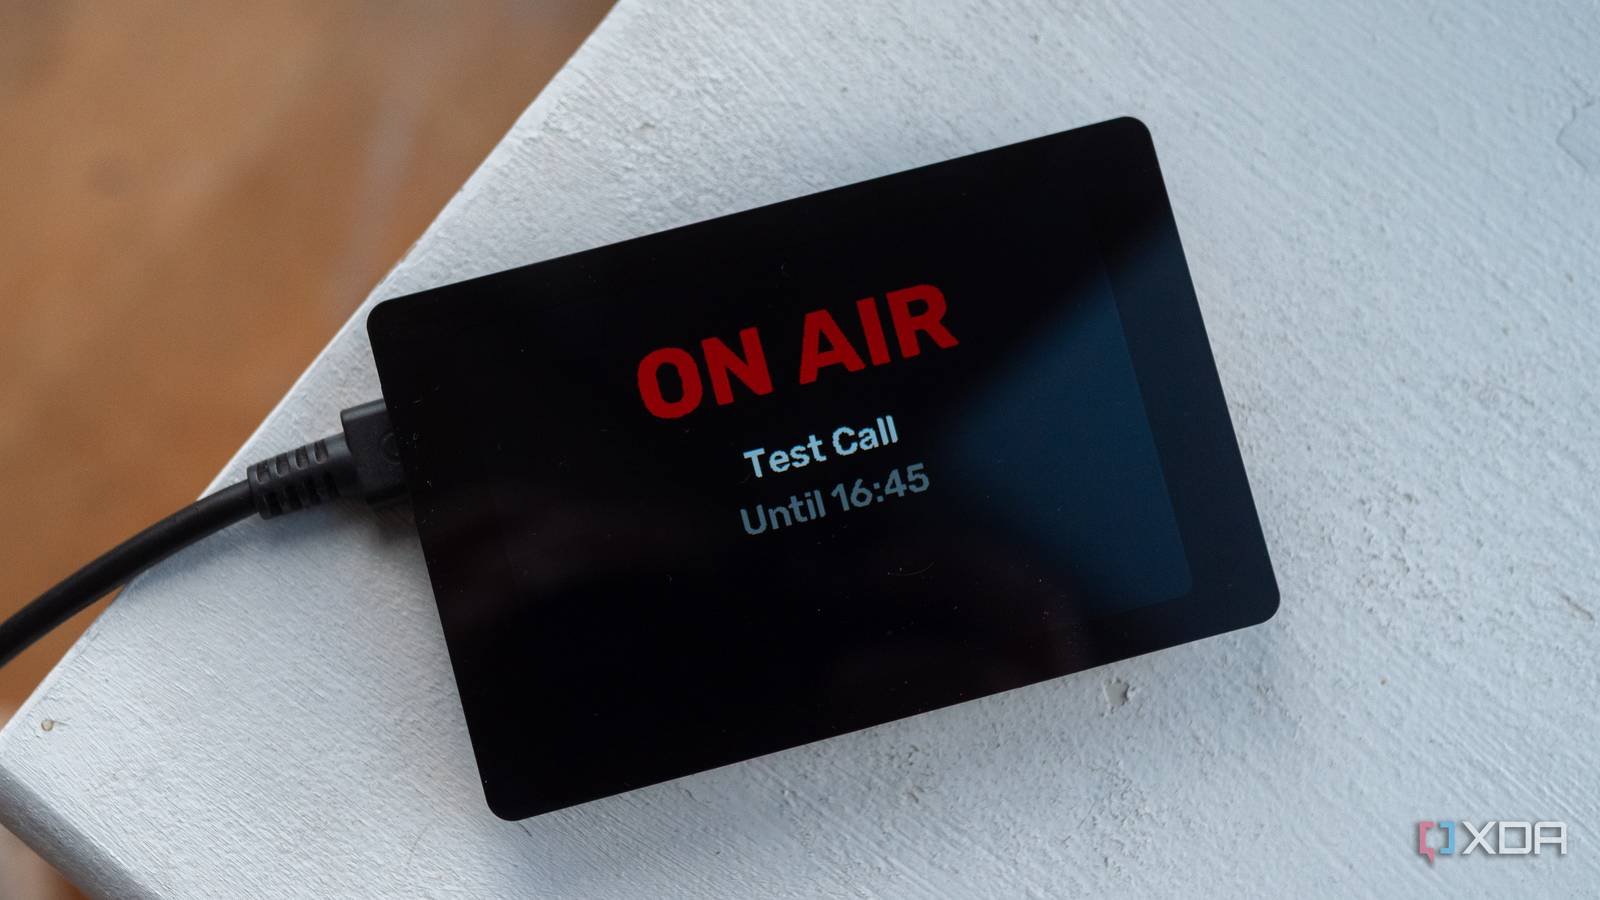
The only logic involved is the change in what’s drawn based on the results of those values. If I’m in a call, it changes to “On Air”, showing when it ends. If I’m out of a call, it shows the next one if it’s the same day. Otherwise, it simply says “No more meetings today” and leaves it at that. It shows the meeting title as well (though you can strip that out if it’s sensitive) so it’s not just useful to the others around me, it’s useful to me, too.
As for the colors, well, red for “On Air” may seem like a cliche, but it works. The same goes for the green “Free” message. If you think of it like a traffic light system, the red “On Air” is a clear “do not enter” sign, whereas the “Free” means that I’m out of a call and it’s safe to enter.
In the future, I’ll probably update this using HASS Agent (or an alternative) to detect when my webcam or microphone is active, and use that to override it even if there’s nothing on my calendar. Sometimes I have ad-hoc calls, or I have a call on an entirely different service, so with a combination of reading directly from my computer, and from my calendar, it covers everything.
If you want to get started with this, I’ve put all of the code in my GitHub repository!